Notes
- You can also add students one at a time. See Adding Students Individually.
- You can add or update many students at the same time by scheduling an import using data from your student information system (SIS).
- Each scheduled import includes students from a single school.
- Staff members in Account Administrator or School Coordinator roles can schedule imports.
Importing Student Data
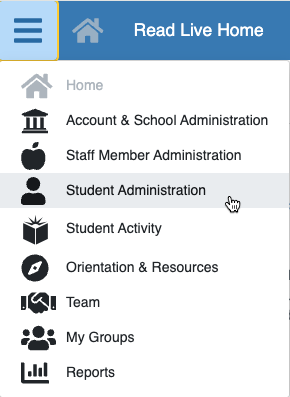
- From the navigation menu, select Student Administration.
- Click Student Import. The Import Students page opens.
- Open one of the following documents to view directions and guidelines for formatting the data to import.
 Importing Student Data from a .csv file (pdf)
Importing Student Data in Read Live (pdf) - Using your student information system, export the student data into a file that conforms to the documented requirements.
- Once your import file is ready, return to the Import Students page.
- Click Browse and select the import file.
- In the School menu, select the school for the students whose data you want to import.
- Click Next.
- On the Verify Import Records page, do one of the following:
- If errors are detected, you must fix them before you can import the file. Hover over a highlighted cell to see the error, or click Print Error Log to get a complete list of errors in the file. Then cancel the import, address the errors, and try again.
- If no errors were detected, verify that the data you are about to import is accurate. Then click Next.
- Confirm that you would like to schedule this import by clicking Yes.
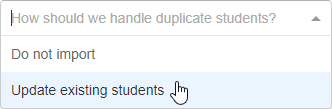
- If any of the students in your file already exist in your account, the Matching Records Found page opens with a list of the duplicate students. In the list of students, cells are highlighted if the value in the file does not match the existing value in Read Live. Hover over a highlighted cell to see the corresponding value from the database. After checking the differences, use the How should we handle duplicate students? menu to either:
- choose Update existing students to change the existing students' schools, student IDs, grades, passwords, and parent contact information to match the import file; or
- choose Do Not Import to leave the existing students unchanged.
- Click Next and then confirm again that you want to schedule the import of your file. You will receive an email when the import is complete.
Additional Resources
- Video: Setting Up Read Live: How to Add Students with Import
- Read Live Teacher's Manual: Working With Student Information
